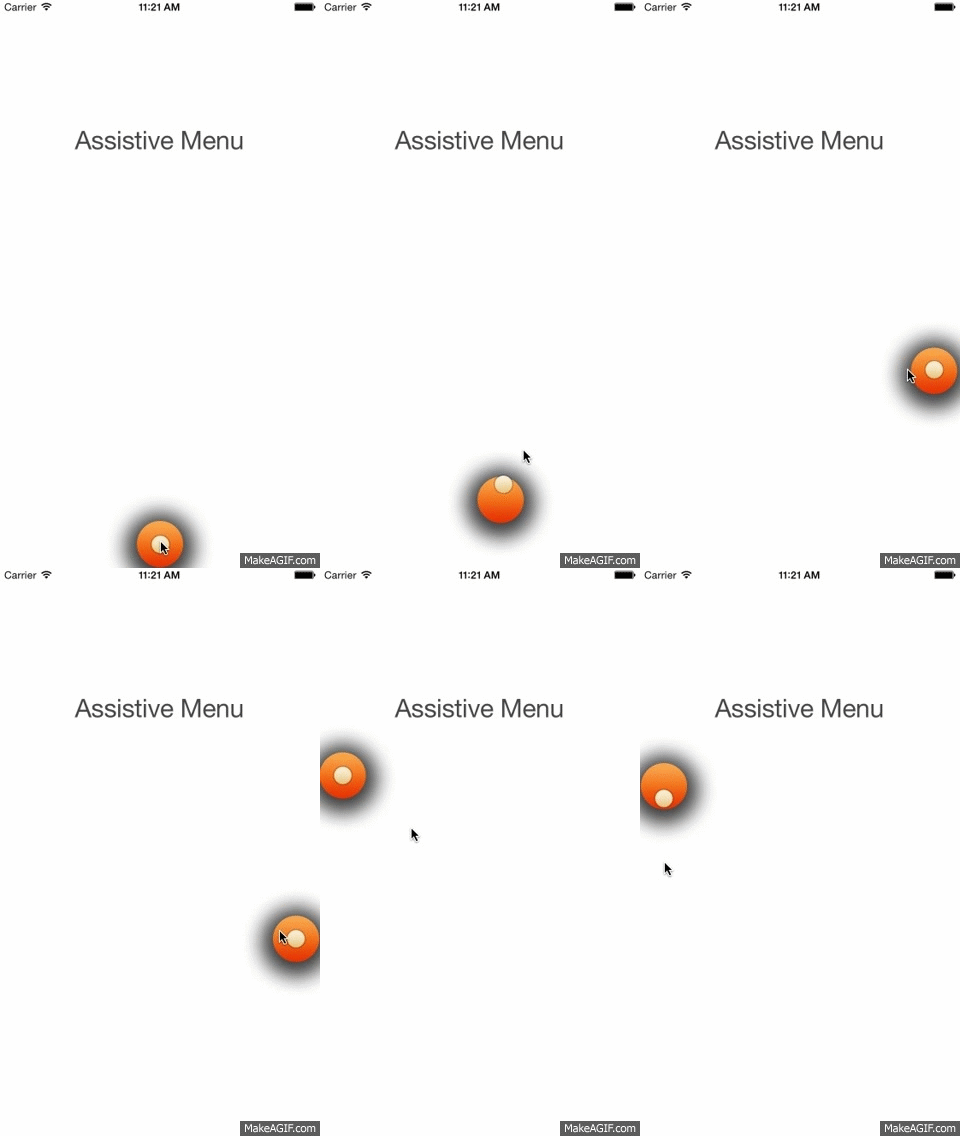
The assistive menu on iDevices is a cool feature that nobody misses out. Every iPhone user is using it. Together with the stability of iOS, the assistive menu is highly efficient for quick navigations across iOS.
Now imagine if you could make an assistive menu exclusively for your app. Sounds interesting? Well, this is what we have done at OpenXcell for one of our clients. Since, the navigation went more complicated than we thought, we created a custom assistive menu for the app itself.
You won’t come across an assistive menu made exclusively for an app that easily. So. here is an opportunity to learn the trick and apply to your app/game.
Design and Animation:
What you see here is a basic working assistive menu. It is comprised of a couple of concentric areas that employ effects to appear three-dimensional in nature. The region at the centre points towards the direction where the swipes are made. The direction and magnitude of the swipe also ascertain the 3D effect demonstrated by the outer area.
You can also make your assistive menu pop out options that you want your users to access frequently. The animations can be vivid based on your choice and menu options.
How to make one?
With the reference of iPhone assistive touch, we want something like within the entire app for displaying the menu. Hence, we create a global view and add it to the UINavigationController’s view.
NSArray *arr = [[NSBundle mainBundle] loadNibNamed:@”BouncyView” owner:self options:nil];
BouncyView *bouncy = [arr objectAtIndex:0];
[self.navigationController.view addSubview:bouncy];
To learn the complete tutorial go to http://www.openxcell.com/how-to-make-an-assistive-menu-for-your-own-iphone-app/. Hope you have a nice time learning and come back for more
